
Essential Pre-Season Snowmobile Maintenance Checklist
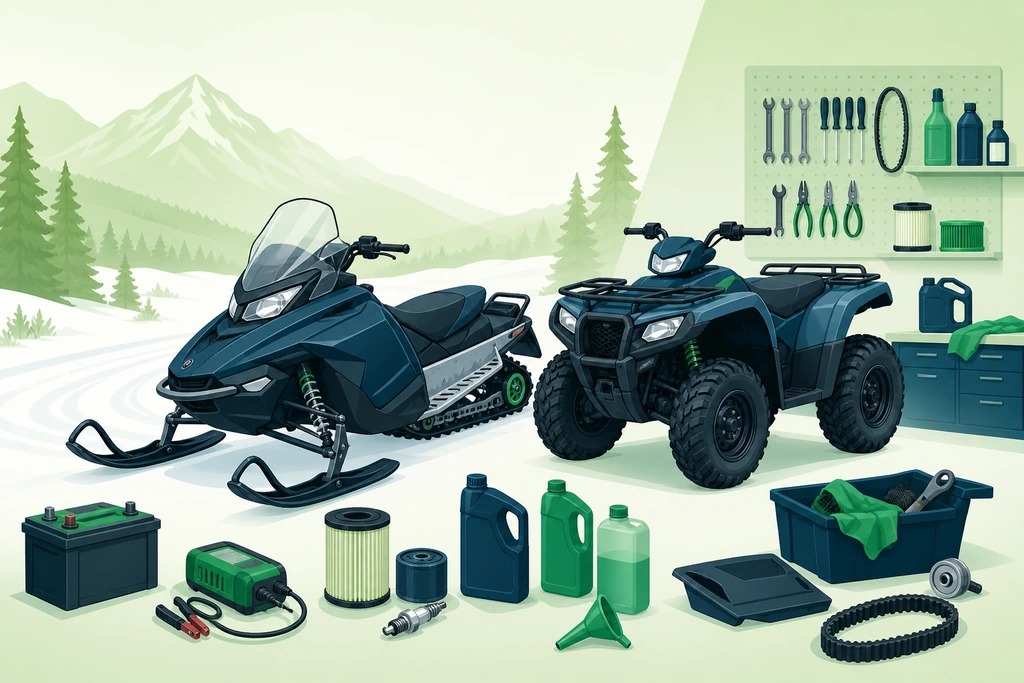
Preparing your machine before the snow flies prevents costly mid-winter breakdowns far from the trailhead. By following a thorough essential pre-season maintenance checklist for snowmobiles and trail vehicles, you can systematically evaluate fluid conditions, belt wear, and electrical systems before temperatures drop. This guide walks you through every critical inspection step to ensure reliable performance all season long.
Ready Before the First Snow?
When did you last examine the engine bay of your snowmobile in full daylight instead of shivering at minus twenty degrees on a remote winter trail? Most unexpected mechanical failures in January trace directly back to neglected inspections in October. Rubber suspension bushings harden during summer storage, fuel varnishes inside carburettor jets, and aging batteries lose significant cold-cranking capacity by the first hard autumn frost. Dealership service bays book solid four to six weeks in advance by mid-autumn, and vital OEM replacement parts like carbides, slide rails, and drive belts frequently go on back-order. Completing an essential pre-season maintenance checklist for snowmobiles and trail machines is realistic for a single well-stored vehicle in one afternoon. If you manage a fleet or store sleds outside under tarps, allocate two full weekends. Log precise engine hours, inspect wear patterns, and secure all replacement consumables early.
Fuel, Oil and Coolant Age Out
Fuel quality degrades rapidly after prolonged storage, making it the primary fluid failure point. Pump gasoline blended with ethanol absorbs ambient moisture and separates within ninety days, leaving a corrosive varnish deposit at the bottom of the fuel tank. Sleds stored without proper stabilizer require complete tank draining rather than fresh fuel top-ups. Two-stroke operators must inspect oil injection pump calibrations and flexible feed lines that crack over time. Four-stroke powerplants demand thorough engine oil level checks, filter replacements, and coolant condition tests; acidic coolant rapidly erodes water pump seals and heat exchangers. Brake fluid is naturally hygroscopic and requires replacement every twenty-four months regardless of seasonal mileage. Chaincase lubricants exhibiting a milky appearance indicate water contamination through compromised seals. Executing these fluid diagnostics prevents premature mechanical wear on every trail vehicle, extending overall component life and ensuring reliable winter engine performance.
Battery Voltage Tells Half the Story
A rested battery reads roughly 12.6 volts; anything hovering near 12.2 volts is half discharged and will struggle immensely at minus 15 degrees. Surface voltage alone remains deceptive, requiring a professional load tester or carbon-pile test to verify true cold-cranking amps. AGM batteries resist deep discharge cycles better than traditional flooded lead-acid units, but both suffer sulfation if left flat on unheated concrete floors. Relocate the power pack indoors, recharge it slowly using a smart charger, and maintain it on a float setting. Clean terminal posts down to bare metal, apply conductive dielectric grease, and inspect the main chassis ground strap; hidden corrosion here mimics a dead battery and strands countless riders annually. Pre-wire heated visors and 12-volt accessories before the snow arrives. Ensure fuse ratings match accessory loads and that all electrical connections remain sealed.
Proactive Maintenance Versus Late Discoveries
| Pre-Season Inspection | Deferred Maintenance Risk |
|---|---|
| Checking fuel and coolant condition before cold weather | Dealing with varnished carburetor jets on the trail |
| Testing battery voltage and cold-cranking capacity early | Facing unexpected electrical failures during a deep freeze |
| Verifying critical torque numbers on steering and suspension | Risking loose fasteners and structural component failure |
| Inspecting drive belts for hidden cracks and wear | Experiencing sudden belt breakage miles from civilization |
| Securing OEM replacement parts weeks ahead of the season | Stuck waiting months in backed-up dealership service bays |
Torque Numbers That Matter
Manufacturers publish exact torque and tension figures, and guessing them compromises structural safety. Track tension on standard trail sleds requires precisely 25 to 35 millimeters of downward sag when loaded with a 10-kilogram weight at the slide midpoint. Over-tightened tracks scorch hyfax slides and ruin bogie bearings, while loose tracks cause dangerous ratcheting during aggressive acceleration. Suspension pivot bolts and ski mounting hardware must be re-torqued to factory specifications—typically 40 to 60 Nm for front arms—because thermal cycling and transport vibration loosen fasteners. Carbide runners worn below 3 millimeters fail to bite in corners and chew through composite ski bottoms. Spin bogie wheels by hand to detect grinding bearings and replace them in matched sets. Inspect drive chain deflection, top up gear oil, and grease every zerk fitting to ensure maximum longevity across rough winter terrains.
What Kills a Drive Belt
Drive belts rarely fail purely from chronological age; excessive heat, clutch misalignment, and pulley contamination destroy them prematurely. Clutches out of parallel by even a single millimeter subject the belt to lateral side-loading, glazing the internal cords and slashing service life in half. Verify center distance against the factory manual, examine sheave faces for deep grooves and rubber residue, and clean contact surfaces with a non-oily solvent. Proper deflection—typically 25 to 38 millimeters with the secondary sheave fully open—prevents clutch slip during aggressive acceleration. Brand-new belts require 30 to 40 kilometers of structured break-in at variable throttle without heavy towing loads. Always carry a pre-broken-in spare belt inside the storage compartment. Examine belt guards for scuff marks indicating worn engine mounts and instantly discard any belt featuring missing cogs, glazing, or exposed cords to avoid severe secondary housing damage.
Trail Vehicles Follow Their Own Rules
Wheeled trail vehicles follow a different calendar. Tyre pressures drift over winter, and a machine parked on flat tyres for five months develops permanent sidewall damage; inflate to the manual figure, then roll it a metre every few weeks. Wheel bearings, ball joints and CV boots take the worst of mud and grit — spin each wheel, listen for rumble, and check boots for splits before they sling grease. Brake pads and the fluid reservoir deserve inspection after a wet autumn. Air filters clogged with dust richen the mixture and foul plugs, so clean or replace the element. Differential and gearbox oil should be drained if it looks grey. Skid plates hide cracked mounts. For UTVs, test the winch, check the belt on continuously variable transmissions, and confirm the spark arrestor is intact, since many trail networks require one. A shakedown on private ground exposes loose fasteners far from help. Before heading out on distant trails, ensure you have reliable navigation-tools-and-gps-tracking-for configured for remote winter conditions.
Pre-Season Checklist Ends With Paperwork
Paperwork stalls more first rides than mechanical faults. Registration and insurance renewals arrive quietly in autumn, and trail permits sold at early-season discount disappear by December in most jurisdictions. Verify the plate and VIN on the policy match the machine you are actually riding — a swapped engine or a rebuilt chassis can void coverage. Then run a shakedown: 20–30 km close to the trailer, at moderate speed, listening for new noises and stopping twice to check for leaks, loose bolts and belt temperature. Pack a kit with a spare belt, plugs, fuses, a tow strap, a small tool roll and a headlamp. Test the kill switch, tether cord and lights before loading. A completed essential pre-season maintenance checklist for snowmobiles and trail vehicles is worth little without documents in the glovebox and a first ride that proves every repair held.